Displaying our favorite memories and cherished moments is a wonderful way to add a personal touch to our home decor. And what better way to showcase these special moments than in a unique and customized wooden photo frame? Making your own photo frame not only adds a personal touch to your home decor but also makes for a thoughtful and budget-friendly gift idea.

From selecting the right materials to adding your personal touch, we’ve got you covered. So, let’s get started with the How to Make a DIY Wooden Photo Frame: Step-by-Step Process.
Gather Materials and Tools For Making DIY Wooden Photo Frame
Before we start, we need to gather all the necessary materials and tools. Here is a list of things you will need:
Materials:
- Wooden planks;
- Wood glue;
- Sandpaper;
- Stain or paint;
- Picture frame glass;
- Picture frame backing board;
- Picture frame hangers;
Tools:
- Saw;
- Miter box or saw;
- Measuring tape;
- Sanding block;
- Paintbrushes;
- Clamps;
Measure and Cut the Wooden Planks
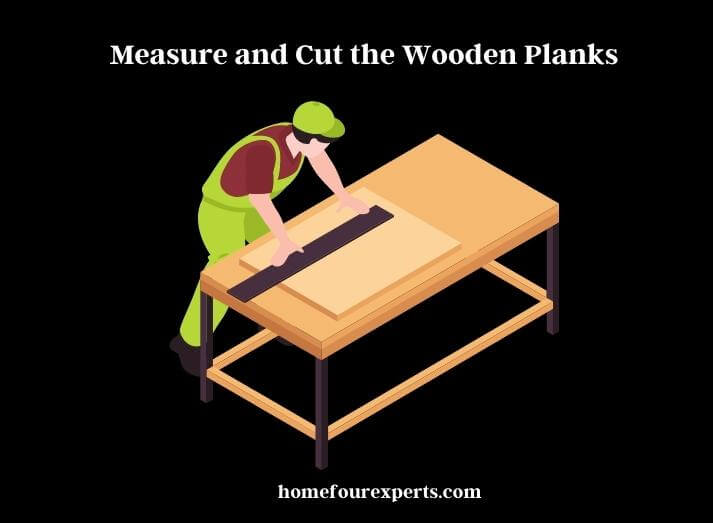
To measure and cut the wooden planks for your DIY wooden photo frame, you’ll need a saw and a measuring tape. It’s important to measure and cut the wooden planks precisely, as this will affect the overall look and stability of the frame.

Start by measuring the length and width of the photo or artwork that you want to frame. Then, add 2 inches to both the length and width measurements. This will give you the dimensions for your frame.
Next, mark the measurements on the wooden planks using a pencil and a measuring tape. Use the saw to carefully cut the wooden planks to the desired size. You can use a miter box to ensure that the cuts are at a precise angle.
It’s important to take your time and make sure that the cuts are straight and clean. Uneven or rough cuts can affect the stability of the frame and make it difficult to assemble.
If you’re making a larger frame, you may need to use multiple wooden planks to create the frame. In this case, measure and cut each wooden plank separately and then join them together using wood glue.
Taking the time to measure and cut precisely will ensure that your frame looks great and is sturdy enough to hold your favorite photos and artwork.
Details About Sand the Wooden Planks
After you have sanded the wooden planks for your DIY wooden photo frame, you have the option to either stain or paint them. Staining the wood will enhance the natural beauty of the wood grain while painting it will provide a solid color and hide any imperfections. The choice is yours and will depend on the look you want to achieve.
To stain the wooden planks, you will need wood stain, a paintbrush, and a clean cloth. Start by applying the wood stain with a paintbrush, following the direction of the grain. Allow the stain to sit for a few minutes and then wipe off any excess with a clean cloth. You may want to apply a second coat of stain to achieve a darker color.
If you prefer to paint the wooden planks, you will need paint, a paintbrush, and a primer if the wood is unfinished. Apply a coat of primer if needed and allow it to dry completely before applying the paint. Apply the paint in thin, even coats, allowing each coat to dry before applying the next one. You may want to apply two or three coats of paint to achieve a solid color.
When choosing a stain or paint, consider the decor of the room where the photo frame will be displayed. Choose a color that complements the colors in the photo or artwork you plan to frame.
Once the stain or paint has dried completely, you can assemble the wooden planks to create your DIY wooden photo frame. Whether you choose to stain or paint the wood, this step will give your frame a finished look that will enhance the beauty of your photos and artwork.
Sand the Wooden Planks
After you have measured and cut the wooden planks for your DIY wooden photo frame, the next step is to sand them. Sanding the wooden planks will ensure that they are smooth and free from any rough edges or splinters. This will give your frame a polished look and make it more comfortable to handle.
To sand the wooden planks, you will need sandpaper with medium to fine grit. Start by sanding the rough edges of the wooden planks until they are smooth to the touch. Then, sand the entire surface of each plank, moving the sandpaper in the direction of the grain. This will help to prevent any scratches or marks on the surface of the wood.
It’s important to sand the wooden planks evenly, so make sure to apply even pressure with each stroke of the sandpaper. You may want to use a sanding block to help keep the sandpaper flat and in place.
Once you have sanded each plank, wipe them down with a clean, damp cloth to remove any dust or debris. You may also want to use a tack cloth to ensure that there is no residue left on the surface of the wood.
Sanding the wooden planks is an important step in making a DIY wooden photo frame. It will help to ensure that your frame looks great and is comfortable to handle. So take your time and make sure to sand each plank evenly and thoroughly before moving on to the next step.
Assemble the Frame
Now that you have measured, cut, sanded, and stained or painted your wooden planks, it’s time to assemble the frame. Follow these simple steps to put the frame together:
- Lay out the wooden planks on a flat surface to create the frame. Make sure that the ends of each plank are flush with the adjacent plank.
- Apply wood glue to the ends of each plank, and then press the planks together firmly. Make sure that the planks are lined up evenly and that the corners are square.
- Use clamps to hold the planks together while the glue dries. You can use corner clamps or bar clamps to hold the planks securely in place. Leave the clamps on for at least an hour, or until the glue has dried completely.
- Once the glue has dried, remove the clamps and use fine-grit sandpaper to smooth any rough spots or edges. Wipe the frame with a clean cloth to remove any sawdust or debris.
- Attach the hardware for hanging the frame. You can use picture hangers, sawtooth hangers, or D-rings, depending on your preference. Make sure to attach the hardware to the back of the frame, using screws that are appropriate for the weight of the frame.
- Insert your photo or artwork into the frame. Make sure that the photo or artwork is centered in the frame and that it is held securely in place. You can use photo corners or adhesive tape to hold the photo or artwork in place.
Add the Glass and Backing Board
Once you have assembled your DIY wooden photo frame, the next step is to add the glass and backing board. This will protect your photo or artwork and keep it securely in place. Here are the steps to follow:
- Measure the inside dimensions of the frame to determine the size of the glass and backing board you will need. You can have the glass and backing board cut to size at a local hardware store or use a handheld glass cutter to cut them yourself.
- Carefully insert the glass into the frame, making sure that it fits snugly. If the glass is loose, you can use glazier points or a framing gun to hold it in place.
- Place the backing board into the frame, making sure that it fits snugly against the glass. You can use small nails or staples to attach the backing board to the frame.
- Turn the frame over and check that the glass and backing board are securely in place. If needed, use a screwdriver to tighten any screws or adjust the hardware for hanging the frame.
- Clean the glass with a soft cloth or paper towel and glass cleaner to remove any smudges or fingerprints.
Adding the glass and backing board to your DIY wooden photo frame is an important step to protect your photo or artwork and keep it looking great for years to come.
Add the Picture Frame Hangers
After you have assembled your DIY wooden photo frame and added the glass and backing board, the next step is to attach the picture frame hangers. This will allow you to hang your frame on the wall and showcase your photo or artwork. Here are the steps to follow:
| 1 | Decide where you want to place the picture frame hangers on the back of the frame. You should use two hangers, one on each side of the frame, to ensure that the weight is evenly distributed. |
| 2 | Measure the distance between the hangers and mark the location on the back of the frame. Use a pencil or marker to make the marks visible. |
| 3 | Attach the picture frame hangers to the back of the frame, using screws that are appropriate for the weight of the frame. Make sure that the hangers are level and evenly spaced. |
| 4 | Check that the hangers are securely attached to the frame by gently pulling on them. If they are loose, you may need to use longer screws or attach the hangers to a thicker part of the frame. |
| 5 | Test the hangers by hanging the frame on a hook or nail. Make sure that the frame is level and that the weight is evenly distributed between the two hangers. |
Final Words
Making a DIY wooden photo frame is a fun and rewarding project that allows you to create a unique and personalized display for your favorite photos or artwork. By following the step-by-step process outlined in this article, you can create a beautiful and sturdy frame that will protect your photo and add a touch of style to your home decor.
Remember to measure and cut your wooden planks carefully, sand and stain or paint them to your liking, assemble the frame using strong and reliable hardware, and add the glass and backing board to protect your photo or artwork. Attach picture frame hangers to the back of the frame so that you can display it proudly on your wall.
With a little bit of patience and creativity, you can create a DIY wooden photo frame that is both functional and beautiful. Whether you’re displaying a cherished family photo or a piece of original artwork, a wooden photo frame can add a touch of warmth and personality to any room in your home. So go ahead and get started on your own DIY project today!
About This Writer

Hi, I am Eric Devin and I am a professional interior architect. Since childhood, I've always enjoyed DIY projects! And, I have loved to solve simple household problems using essential tools and equipment. I have also acquired a lot of information about basic household tools settings by working with contractors.