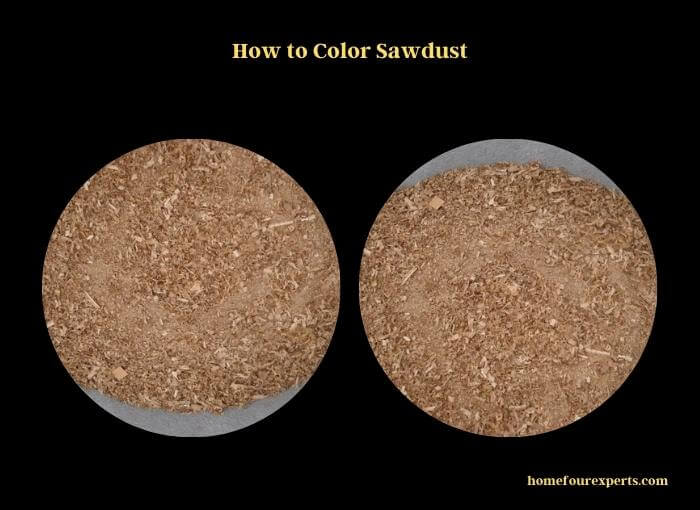
Are you done with your woodwork? Then, you must have some wood residue left that is spread around your floor, right? Well, you will be mesmerized to know that you can utilize these wood residues (sawdust) too.
You can make colorful objects and DIY projects with sawdust. But, for that, you need to put color into those sawdusts. You might ask, “how to color sawdusts?”. Well, this is exactly what we’re going to discuss here.

We have provided a full tutorial on coloring your sawdusts in this discussion. Furthermore, we have provided a few more related questions as well. So, without any more delay, let’s get to know how you can color and utilize those sawdusts.
Can You Add Sawdust to Paint? [Detailed Explanation]
To redecorate any old object you have, you can apply colored sawdust to it. To do that, you need to follow a few simple steps. Don’t worry, and we have covered all the steps in detail (in the subsection below). All you have to do is be attentive and read till the very end. So, as a first step in utilizing your sawdust, let’s see the steps of coloring your sawdust:
Tools That You’ll Need
- Measuring cup
- Empty container
- Plaster of Paris
- Sawdust
- Water
- A choosing paint(latex or acrylic)

Coloring Your Sawdust [6 Steps]
1. The first thing to do is pour half a cup of plaster of Paris into an empty container.
2. As the second step, you have to mix two tablespoons of water into the plaster of Paris.
3. Next, you’ll have to mix the plaster of Paris in the water very well. Ensure that you don’t leave any lumps in the mixture. So, steer the mixture for at least 2 minutes (for better accuracy in mixing).
4. After the preliminary mixing is done, you’re going to add another two tablespoons of water into the mixture of plaster of Paris. That means you’re mixing a total of four tablespoons of water with a cup of the plaster of Paris.
5. In this step, you have to grab the paint you have decided to mix and add it into the mixture of plaster of Paris and water. After putting the paint in, mix the whole mixture very well, so the paint particles can get blended evenly.
6. As the last step, you will mix the sawdust you have collected with the mixture. To mix the sawdust very well, first, add two tablespoons of sawdust into the mixture.
After mixing the two tablespoon sawdusts you just added, remix another two tablespoons of sawdusts (and steer well).
Just like that, you can continue mixing as much sawdust as you want (according to your preference). And, finally, you’re finished. Now, you can use the painted sawdust on any object. If you have a garage, you should also clean sawdust out of your garage.

How Do You Paint Sawdust?
If you have the colored-sawdust paste already prepared in your hand, to paint the paste on any object. As a result, it will increase the aesthetic of that particular object.
This tutorial will show you how you can paint sawdust on a particular object. In this case, we’ll use a flower base as the object on which the sawdust will be applied.
- First, make a colored sawdust paste, as instructed in the above subsection.
- Now, grab the object you are willing to paint on (in this case, a flower base). Then, use a water-drenched towel to rinse off the surface of the flower base. This way, the excess dust and dirt will go away. As a result, when the paint dust is applied, it will permanently stick to the flower base.
- Take a paintbrush and dip it into the paste. Then, slowly apply the paintbrush onto the surface of the flower base. Progressively, cover the whole surface area of the flower base with the sawdust paste.
- At this point, all you have to do is let the paint get dry and fully attached to the surface of the flower base.
And, just like that, you’re done painting sawdust on your desired object.
How Do You Make Fake Snow with Sawdust?
You can very quickly make fake snows for your DIY projects with sawdust. To do that, all you have to do is follow the below steps in the correct order.
1. Prepare a paint paste with sawdust, as mentioned in the above tutorial. But, in this particular case, you’ll specifically have to use white paint.
2. Now, as an additional step in making the paint paste, you’ll have to add glue to the mixture of paste as well. You can mix starch-based glue with the sawdust paint mixture (to make it permanently stick to any surface).
3. After your white-colored sawdust paint paste is prepared, it is ready to be applied to any DIY projects. It will give off a whitish and snowy vibe when you apply it. As a result, it will enhance the beauty of your DIY project with a snowy theme.
Frequently Asked Questions
1. Can Sawdust be Industrially Recycled?
Yes definitely. The manufacturing of particleboards is the primary source of recycling sawdusts. Thanks to the recycling process of sawdust, new trees don’t need to be cut for making new furniture.
2. Can I Use Sawdust as Kitty Litter?
Absolutely, yes. Sawdust has an excellent property of observing moisture. That’s why they are the best item to be used as kitty litter.
The Bottom Line
Instead of seeing sawdust as a waste of wood, we should positively and recycle it. That’s why we have laid down the instructions mentioned above, so you too can utilize the sawdust. We hope our instruction was helpful to you.
Finally, we bid you the best of luck on your way to painting sawdust to your dream DIY projects.
Read more:
About This Writer

Hi, I am Eric Devin and I am a professional interior architect. Since childhood, I've always enjoyed DIY projects! And, I have loved to solve simple household problems using essential tools and equipment. I have also acquired a lot of information about basic household tools settings by working with contractors.
