Published on: March 5, 2023
Written by Eric Devin / Fact-checked by David Rowan
A cutting board is an essential tool in any kitchen, used for preparing food safely and efficiently. While plastic cutting boards are cheap and easy to clean, they can dull knives quickly and may even harbor harmful bacteria. In contrast, a well-made wooden cutting board is not only durable but also gentle on knives and naturally antimicrobial.

If you’re looking to make your own cutting board, you’ll need to select the right wood, use the proper tools and techniques, and follow good maintenance practices to ensure that your board is both practical and long-lasting.
We’ll take you step-by-step through the process of making a durable and practical cutting board that you can use for years to come. We’ll cover everything from choosing the right wood to sanding and finishing your board, as well as maintenance tips and safety considerations along the way.
Choosing the Right Wood
The first step in making a durable and practical cutting board is to choose the right wood. Hardwoods such as maple, cherry, and walnut are excellent choices because they are dense and durable. They also have a tight grain pattern that helps to prevent bacteria from getting trapped in the wood.
Softwoods such as pine or cedar should be avoided as they are more porous and can absorb moisture and bacteria. Avoid using exotic woods that may be allergenic, like teak or rosewood.
Tools and Materials for Making a Durable and Practical Cutting Board
Before you get started on your cutting board project, you’ll need to gather a few essential tools and materials. Here’s a list of what you’ll need:
Tools
- Table saw or circular saw
- Planer or thickness planer
- Jointer (optional)
- Router with a chamfer or round-over bit (optional)
- Clamps
- Sandpaper (grit ranging from 80 to 220)
- Drill
- Countersink bit
- Food-safe finish (such as mineral oil or beeswax)
Materials
- Hardwood lumber (such as maple, cherry, or walnut)
- Wood glue
- Mineral spirits (for cleaning up excess glue)
Once you’ve gathered your tools and materials, you’ll be ready to start building your cutting board. Keep in mind that safety should always be your top priority when using power tools, so be sure to read the manufacturer’s instructions and take all necessary precautions before getting started.
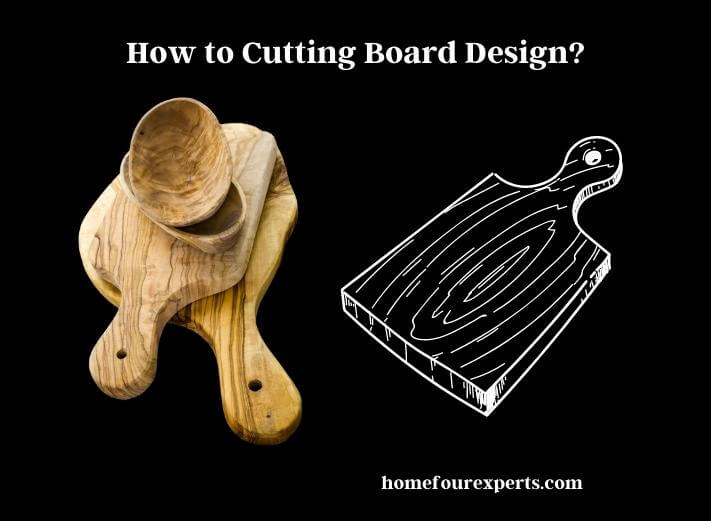
How to Cutting Board Design?
When it comes to designing your cutting board, there are several factors to consider. You’ll need to decide on the size and shape of your board based on your needs and available space. A general rule of thumb is to aim for a board that’s at least 12 inches by 18 inches, but larger or smaller sizes may be more appropriate depending on your specific needs.

Once you have an idea of the size and shape you’re looking for, you can start thinking about the overall design of your board. Many cutting boards feature a simple rectangular or square shape, but you may also want to consider adding rounded corners or other decorative elements for a more unique look. You can also experiment with different patterns and grain orientations to create a more visually interesting design.
It’s also important to consider the thickness of your cutting board. While a thicker board may feel more substantial and durable, it can also be heavier and more difficult to handle. Conversely, a thinner board may be more lightweight and easier to maneuver, but may also be less durable over time.
How to Cutting Board Size?
When it comes to determining the size of your cutting board, you’ll need to consider a few key factors. Think about the size of your kitchen and your available workspace. If you have limited counter space, you may want to opt for a smaller cutting board that can be easily stored when not in use.
The types of foods you’ll be preparing on your cutting board. If you frequently work with large cuts of meat or whole vegetables, you may need a larger cutting board to accommodate these items. If you mainly prepare smaller items like fruits, herbs, and spices, a smaller cutting board may be sufficient.
A general rule of thumb is to aim for a cutting board that’s at least 12 inches by 18 inches, which provides enough space for most cutting tasks. However, you can certainly go larger or smaller depending on your specific needs. Just keep in mind that a larger cutting board may be heavier and more difficult to maneuver, while a smaller cutting board may not provide enough space for certain tasks.
The size of your cutting board will depend on your individual needs and preferences. Take some time to consider the factors outlined above, and choose a size that works best for you.
Cutting Board Thickness Process
The thickness of your cutting board will depend on several factors, including the type of wood you’re using, the size of the board, and your personal preferences. In general, most cutting boards range in thickness from 1 inch to 1.5 inches.
To determine the thickness of your cutting board, you’ll need to start by selecting your lumber. Hardwoods like maple, cherry, and walnut are great choices for cutting boards, as they’re durable and resistant to knife marks. Once you have your lumber, you’ll need to mill it to the appropriate thickness.
If you have a planer, you can use it to thickness your lumber to the desired size. Alternatively, you can use a table saw to rip the lumber down to the desired thickness, and then sand it smooth. Just be sure to take your time and work carefully to ensure that your board is flat and even.
When determining the thickness of your cutting board, keep in mind that thicker boards are generally more durable and less prone to warping over time. However, they can also be heavier and more difficult to maneuver. Thinner boards, on the other hand, are lighter and easier to handle, but may not be as durable in the long run.
The thickness of your cutting board will depend on your individual needs and preferences. Consider the factors outlined above, and choose a thickness that works best for you. Once you have your lumber milled to the appropriate thickness, you’ll be ready to start building your cutting board.
Cutting Board Maintenance
Maintaining your cutting board is essential to keep it in good condition and extend its lifespan. Here are some tips for keeping your cutting board in top shape:
Clean your cutting board after each use: After each use, wash your cutting board with hot, soapy water, and dry it with a clean towel. Avoid using abrasive cleaners or scrubbers that can damage the surface of the board.
Disinfect your cutting board regularly: To disinfect your cutting board, use a solution of one part vinegar to four parts water, or a solution of one tablespoon of bleach to one gallon of water. Apply the solution to the board and let it sit for a few minutes, then rinse it with hot water and dry it with a clean towel.
Oil your cutting board regularly: To keep your cutting board moisturized and prevent it from drying out, oil it regularly with food-grade mineral oil or a specially formulated cutting board oil. Apply the oil to the board using a clean cloth, and let it soak in for a few hours or overnight before wiping off any excess.
Avoid exposing your cutting board to extreme temperatures: Avoid exposing your cutting board to extreme temperatures, such as placing it in the dishwasher, soaking it in water, or leaving it in direct sunlight for long periods of time. These can cause the board to warp, crack, or split.
Use separate cutting boards for different types of foods: To prevent cross-contamination, use separate cutting boards for different types of foods, such as raw meat, poultry, vegetables, and fruits.
Details About Sanding and Finishing
Sanding and finishing are important steps in making a durable and practical cutting board. Here’s how to do it:
- Sanding: Sanding the surface of your cutting board is essential to remove any rough spots or imperfections. Start with coarse sandpaper, such as 60 or 80 grit, and gradually work your way up to finer sandpaper, such as 220 grit. Sand the surface of the board in the direction of the grain, and be sure to sand the edges and corners as well.
- Finishing: Once you have sanded the surface of the board, it’s time to apply a finish to protect it and bring out its natural beauty. There are several types of finishes that you can use, such as mineral oil, beeswax, or a combination of both. Mineral oil is a popular choice because it’s food-safe and won’t go rancid. Apply the oil to the board using a clean cloth, and let it soak in for a few hours or overnight before wiping off any excess. Beeswax can also be applied on top of the mineral oil to provide an additional layer of protection and a smooth, glossy finish.
- Reapply the finish regularly: It’s important to reapply the finish regularly to keep your cutting board looking and performing its best. Depending on how often you use your cutting board, you may need to apply a new coat of oil or wax every few months or so.
Whether you choose to use mineral oil, beeswax, or a combination of both, be sure to follow the manufacturer’s instructions and reapply the finish regularly to keep your cutting board in top condition.
If you want to know about Installing Shelves: Tips and Tricks for Success. Here is the process.
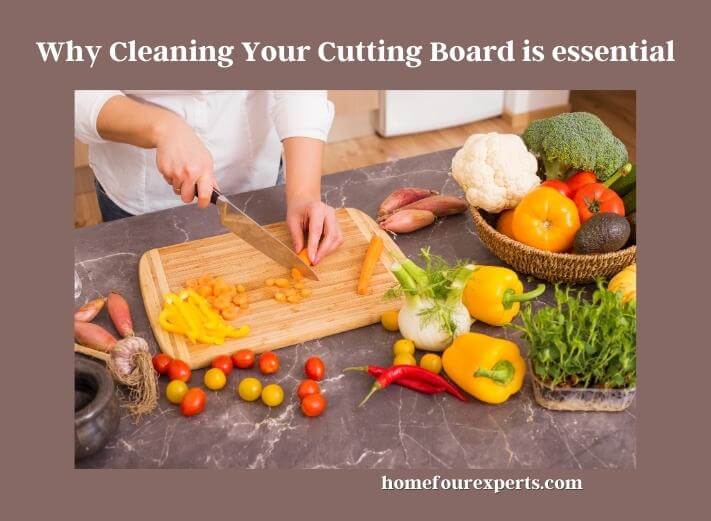
Why Cleaning Your Cutting Board is Essential?
Cleaning your cutting board is essential for several reasons:
- Hygiene: Cutting boards can harbor harmful bacteria that can cause foodborne illnesses if not properly cleaned. Cutting boards that are used for raw meat, poultry, or fish are especially prone to contamination and should be washed thoroughly after each use.
- Odor: If not properly cleaned, cutting boards can develop unpleasant odors from food residue and bacteria. Regular cleaning can help prevent these odors from developing and keep your kitchen smelling fresh.
- Staining: Certain foods, such as beets or berries, can stain cutting boards if not cleaned promptly. Regular cleaning can help prevent stains from setting in and keep your cutting board looking its best.

To clean your cutting board, start by scraping off any food debris with a spatula or scraper. Then, wash the board with hot, soapy water, and scrub with a brush or sponge. Rinse the board thoroughly with hot water and allow it to air dry completely before using it again.
For extra sanitation, you can also disinfect your cutting board with a solution of one tablespoon of bleach per gallon of water.
Alternatives to Wood Cutting Boards
While wood-cutting boards are a popular choice for many home cooks, there are several alternatives available that may suit your needs better:
Plastic:
Plastic cutting boards are affordable, lightweight, and easy to clean. They come in a variety of colors, making it easy to designate specific boards for different types of food to prevent cross-contamination. However, plastic cutting boards can become scratched and harbor bacteria over time, so it’s important to replace them regularly.
Bamboo:
Bamboo cutting boards are similar in appearance to wood cutting boards but are made from a sustainable and eco-friendly material. They are also lightweight and easy to clean but can become damaged over time with frequent use.
Glass:
Glass cutting boards are durable, easy to clean, and won’t absorb any odors or stains. They are also dishwasher-safe, making them a convenient option. However, glass cutting boards can dull your knives quickly and increase the risk of chipping or breakage.
Stone:
Stone cutting boards, such as those made from marble or granite, are durable and won’t absorb any odors or stains. They can also be chilled in the refrigerator to keep food cold during preparation. However, they are heavy and can damage your knives over time.
When choosing an alternative to a wood-cutting board, consider your personal preferences and cooking needs. No matter which type of cutting board you choose, make sure to clean and maintain it properly to prevent the growth of harmful bacteria.
Safety Considerations
When working with cutting boards, safety is of utmost importance. Here are some safety considerations to keep in mind:
- Use a cutting board that is appropriate for the task at hand. For example, use a larger board for cutting larger items, and a smaller board for more precise cutting.
- Make sure the cutting board is secure and stable before beginning to cut. A slippery or unstable board can cause your knife to slip and result in injury.
- Keep your knives sharp. Dull knives require more force to cut through food, increasing the risk of slipping and causing injury.
- Always cut away from your body and keep your fingers away from the blade.
- Use a non-slip mat or damp paper towel underneath the cutting board to prevent it from moving around while in use.
- Clean and sanitize your cutting board regularly to prevent the growth of harmful bacteria.
Wrapping Up a Conclusion
Making a durable and practical cutting board is not a difficult task, but it does require some careful consideration of the materials, design, and maintenance. By choosing the right materials, sizing and shaping the board properly, and maintaining it regularly, you can create a cutting board that will last for years and makes your time in the kitchen more efficient and enjoyable.
Whether you are a professional chef or a home cook, a good cutting board is an essential part of any kitchen, and with these tips, you can create one that meets your needs and lasts for years to come.
About This Writer

Hi, I am Eric Devin and I am a professional interior architect. Since childhood, I've always enjoyed DIY projects! And, I have loved to solve simple household problems using essential tools and equipment. I have also acquired a lot of information about basic household tools settings by working with contractors.