Published on: December 11, 2021
Written by Eric Devin / Fact-checked by David Rowan
Power drills are the most versatile and essential tools for your home improvement projects. You’ll find different types and styles of power drills in the market, you can choose any of them with the consideration of your needs and the features of the drill.
But when you need to change the bit you need to consider one more thing about the drill and that is whether the drill has a keyed chuck system or not. Because the method of changing the drill bit depends on this feature.
In this case, just remember that the majority of the portable drill has keyless chuck and the older or larger drills and drill presses use a chuck key system to open or close the chuck.

What is a Drill Chuck
Generally a chuck is a specially designed clamp which is used to hold any object with radial symmetry.
A drill chuck is the specialized, self- centering chuck, used to hold the drill bits in place. Inside of a chuck, there are three jaws which you can open or close. Depending on direction, you need to rotate the sleeve of your chuck.
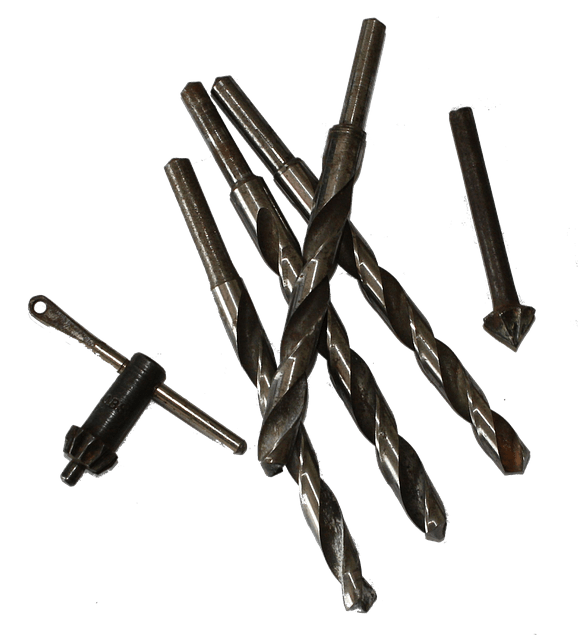
A drill chuck key is the small, ridgid tool that fits in the grooves of your drill chuck so that you can tighten or loosen the chuck if needed. Almost every drill machine has its own chuck key to open and close the chuck for replacing the bit. While installing a new bit, place the key into the center of the chuck’s jaw.

Read More: 10 Brilliant Tool Storage Ideas for Small Spaces
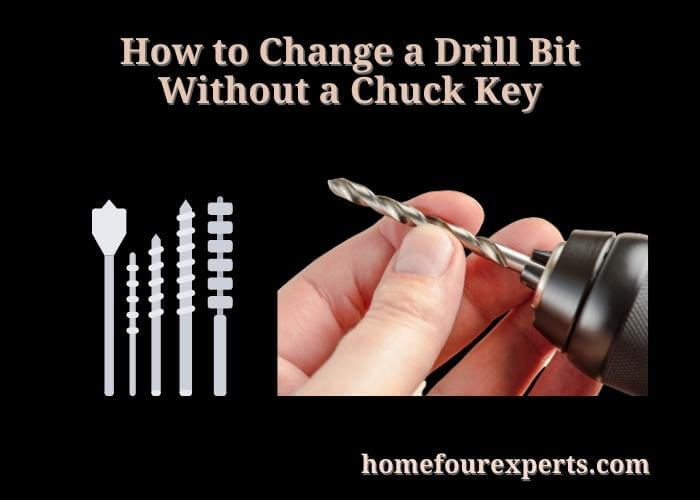
How to Change a Drill Bit without a Chuck Key
When you are using your drill machine to complete various types of projects, you may need to change your drill bit that matches the project.
But if you’re using a keyless chuck drill or somehow lost your chuck key, you must be worried about how you will be able to change the bit without a key.
Replace the Bit Manually
To replace the bit of your drill manually you can follow these steps-
1. Loosen the Chuck
To change the bit first you need to loosen the chuck of your drill. So hold the chuck with one hand and the handle with the other hand. Then twist the chuck counterclockwise and it’ll become loose. You can also do it by pulling the trigger gently.
2. Remove the Bit
Once you’ve loosened the chuck you’ll be able to remove the bit easily as the jaws which clamp it to the drill become loose.
3. Set the Bit
Take the bit you want to replace with and put it in the drill. The smooth part of the bit, known as the shank, must be facing towards the jaws of the chuck. Now insert the bit into the drill chuck and pull it back immediately towards you about a centimeter. And don’t remove your finger from the bit and chuck until the bit is secured or the bit will fall out.
4. Squeeze the Trigger
To tighten the bit in its place, you can give the trigger a few short squeezes by lightly holding the bit. It will ensure that the bit is installed properly.
5. Engage the Ratcheting Mechanism
You can also apply some extra pressure to the shank of the bit if it has a ratcheting mechanism. To use this mechanism, you need to twist it firmly right next to the chuck of the drill in a clockwise motion.
6. Check the Drill Bit

Once you’ve installed the bit, you need to check that the bit is centered properly to use or not. To do this, pull the trigger of your drill in the air and check for wobbling. If the bit isn’t installed properly, you’ll notice this right away.
Read More: How to Remove Rust From Your Tools – 3 Ways to Clean Rusty Tools
Use the Drill to Replace the Bit
If you’re using an electric drill, you can also use your drill to change the bit without a chuck key. Just follow these simple steps-
1. Rotate the Drill
Your electric drill should have a button on the left side of the handle. It dictates the spinning direction of the drill when you pull the trigger.
To remove the bit, you should rotate the bit counterclockwise. So pushing the button on the left side will make your drill rotate anti-clockwise.
2. Hold the Chuck
The chuck of the drill is usually made of plastic. You need to hold the chuck in place with the free hand to keep it from spinning when you rotate the drill.
3. Use a Wrench
You can also use a wrench to loosen the chuck of your drill if it gets stuck. But while using the wrench, you need to be careful as it may damage your drill.
So if you have a keyless drill or lost the chuck key, you can follow these two simple methods. Or you can also check this video to know about the process.
Read More: How to Use Drill Machine Safely & Easily – 3 Tips for Beginners
Replace the Bit Using Chuck Key
If you have your chuck key you can change your drill bit using the key by following these steps-
1. Insert the Key
If your drill comes with a chuck key, you can use the key to loosen the chuck. You have to find the holes on the chuck of the drill that fits the key and insert the key into the keyhole.
2. Rotate the Key
After inserting the key, turn it counterclockwise and when you turn the key, the jaw of the chuck will open. You should continue rotating the key until the chuck is open enough to remove the bit easily.
3. Remove the Bit
When the jaws of the chuck are opened, remove the existing bit from it using your thumb and index finger. After removing it, you should check the drill if you found any damage, you need to replace the drill.
4. Insert a Bit
After removing the bit, you need to insert the bit you want to work with. Take the bit and face the smooth part or the shank of the bit towards the jaws and insert it into the jaws. Don’t remove your fingers till the bit is secured.
5. Tighten the Chuck
Now you need to tighten the chuck using the key. For this turn the chuck key clockwise by holding the chuck with your other hand. If the chuck has more than one keyhole make sure to tighten each firmly to secure the bit. Once the bit is tightened properly, remove the key.
Conclusion
Changing your drill bit according to the type of job you want to do will protect your most important power tool.
After inserting a new bit, always check that the bit is placed properly in the center of the jaw clamps. Remember to check that the drill bit is working properly after replacing a new bit. It will protect you from any kind of accident.
Taking proper care of your tools will increase the lifetime of your tools. So just follow the steps I’ve mentioned for replacing your drill bit.
You Might Also Like:
About This Writer

Hi, I am Eric Devin and I am a professional interior architect. Since childhood, I've always enjoyed DIY projects! And, I have loved to solve simple household problems using essential tools and equipment. I have also acquired a lot of information about basic household tools settings by working with contractors.