Published on: April 8, 2022
Written by Eric Devin / Fact-checked by David Rowan
Do you worry about how to determine miter cut angles?
It is pretty tough to measure the angles. But, there is some process to solve the problem as well. The most popular and easy method is to use a modern or digital protector for determining the angles. Unlike, you can apply sine, cosine, and tangent formulas that are three major roles in trigonometry.
For the digital protector, you need to set this tool properly and fasten its nut. When you notice the digital display of the angle’s amount, you can reduce this tool from the object corner. If the outside corner shows 90.2 degrees, the moldings can be mitered at 45.1 degrees. You can get at percent by dividing two. It is the right miter cut angles of the moldings.
Learn more?
You can read our top to the bottom article. We focus on using digital protector, sine, cosine, and tangent methods details.
How To Determine Miter Cut Angles: Easy Direction

Do you want to get more finishing corners? Miter cut angles are the best way to create a precise corner of the furniture work, trim moldings, and more woodworking missions. It helps to ensure basic butt joints between two corners.
If the furniture shapes or room corners’ angles are 90 degrees, it is easy to calculate and cut miter. Just include two 45 degrees pieces and join them together for getting 90 degrees perfect right angle.
Now, the question is how to determine miter cut angles easily?
There are several ways to specify miter cut angles properly. At the moment, we fill here some alternatives for doing this job successfully.
First, you see here by using a digital protractor to calculate miter cut angles.
To Use a Digital Protractor
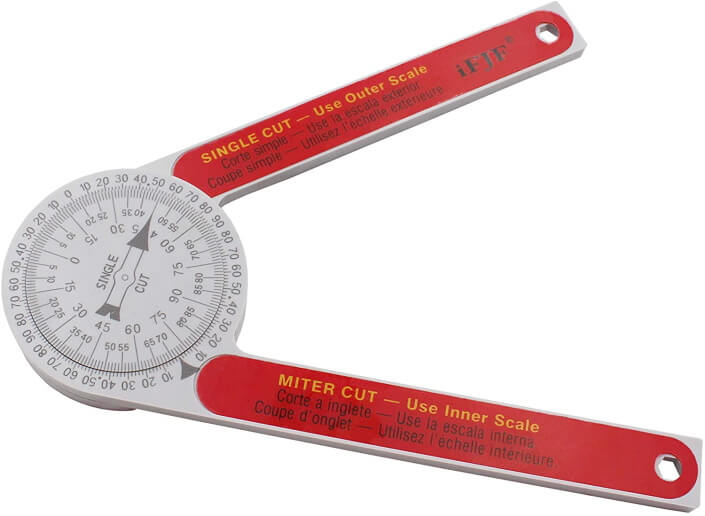
Most of the users like to use the digital projector to solve this problem. Because it is easy to maintain and determine miters. Plus, it is used to measure miter cut angle directly.
First, you need to turn ‘zero’ the digital protector to work properly. Keep the protector’s arms together and hug them against the working surface. Wait for a few seconds and keep the protector ‘ON’ button down while showing it zero degrees. Now, it is time to measure angels.
Just follow our step-by-step direction for determining the miter cut angles-
Step-1
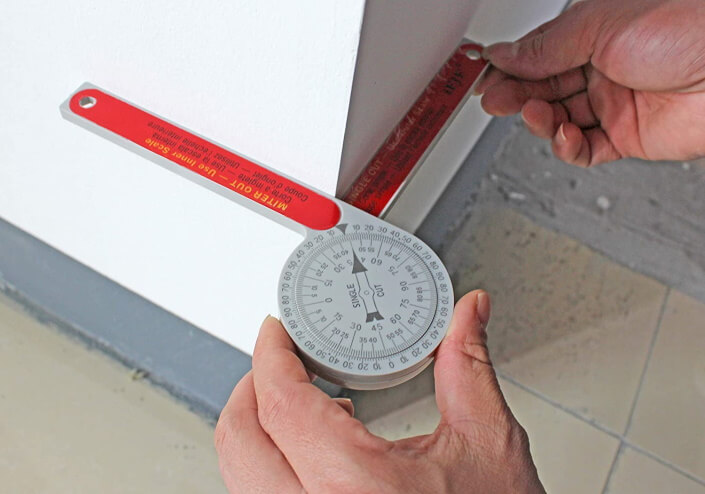
In this first step, you can determine the miters inside corners using digital protectors. Press the ON button and establish the blades tightly in opposition to the inside wall corners. Then, fix the thumbscrew in this device.
See the display for knowing the inside corner angle. If you get the inside corner 90 degrees, you have to divide the angle by two. After dividing this square figure, you notice your precise miter angle is 45 degrees. Perhaps, it is a perfect corner of the wall.
Step-2
At this point, you understand how to determine the meters outside the corners. For doing this, you have to set the digital protector blades over the boundary faces of your fence or furniture. So, suit the center pivot point into the outside corners.
Then, attach the nut as tight as possible and eliminate your equipment from the wall. Notice the display to get the outside corners miter cut angle. In this case, you can also divide by two for the outside corner.
Step-3
At this time, you can determine the miter for multi-sided corners. It is necessary when the project has four sides or corners. You have to set the miter angles differently. For the five-sided project, instead of making two pieces of 45 degrees, you can create 36 degrees pieces for 72 degrees.
To Use Sine, Cosine, and Tangent Formula
If you don’t like to determine the miter cut angle directly, you can apply the sine, cosine, and tangent formulas to measure indirectly. You can easily measure from the length of the angle’s origin to the angle’s lines by using the sine method.
First, you need to mark the points on the opposite line angle. You can use a ruler for calculating the distance. Rulers are good for calculating the accurate distance from the original angle to both sides. This measurement system has sine functions.
Alternatively, tangent and cosine functions are also popular to measure miter cut angles. These can be used for figuring out algebra, trigonometry, and geometry problems. You can find all angles and the length of both sides of the triangle. Calculate the side’s length and the right function before starting to work.
When you get at the longest side of any triangle, you can title that side as the hypotenuse. For discovering the apex of the angle, you appoint this apex “A”. On the other hand, when the title side of the triangle has apex ” A”, you can select only one endpoint without a hypotenuse.
Then, calculate the two sides length by choosing hypotenuse or opposite.
So, these main functions in trigonometry indicate different meanings. Sine function requires opposite or hypotenuse. That means the equal of the angle’s side opposite the hypotenuse. Cosine purpose indicates adjacent over hypotenuse, and tangent function comprises opposite over adjacent.
Can the Same Techniques for Determining Miter Cut Angles be Used for Trim Angles?
Yes, the same techniques for measuring and cutting angles can be used for determining miter cut angles for trim angles. Whether you are working with crown molding, baseboards, or other decorative trim, the process for accurately measuring and cutting angles remains the same.
How Are Miters Calculated?

The basic principle of any project or planter is that it has 360 degrees angles for the entire circle measurement. Any five-sided figure contains five corners so that each corner has one-fifth percentage from the 72 degrees or 360 degrees.
Plus, a combination of two adjoining pieces, one corner created. For this reason, each piece can be 36 degrees or half of 72 degrees.
It is extremely simple to find out. But, if you don’t understand, you can see the below chart to get the right miter angles of the successful project.
- For the three-sided figure total angles of 120 degrees where each piece mitered 60 degrees.
- For the four-sided chart total angles of 90 degrees where each piece mitered 45 degrees.
- Six-sided figure total angles 60 degrees where each piece mitered 60 degrees.
Conclusion
As a learner, you feel trouble determining the miter cut angles. It is a very common theory to every new user. So, do not take stress on this matter.
Anyway, we have already presented detailed information on how to determine miter cut angles. Hopefully, you enjoyed our easy but effective direction on this topic. You can select the high-end digital protector or sine, cosine, and tangent formula according to your own choice.
Related Posts:
About This Writer

Hi, I am Eric Devin and I am a professional interior architect. Since childhood, I've always enjoyed DIY projects! And, I have loved to solve simple household problems using essential tools and equipment. I have also acquired a lot of information about basic household tools settings by working with contractors.