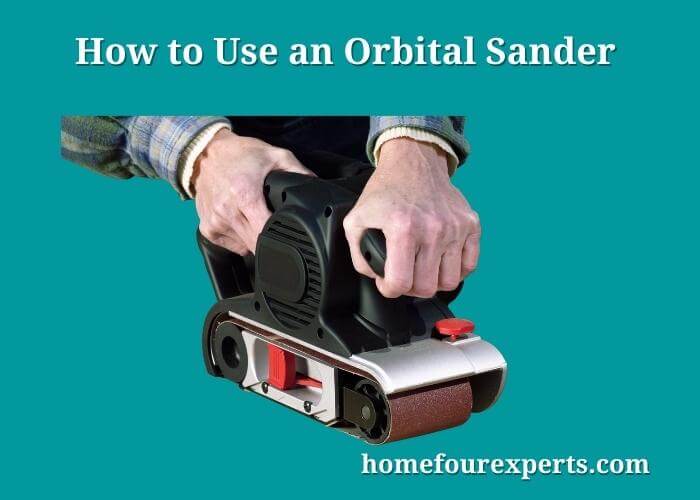
An orbital sander is a very multifaceted device that is used for a smooth and scratch-free surface finishing of your project. This tool is so versatile that it can be used on wood, plastic or metal without any difficulty. The circular motion of this type of sander always gives your project an extra smooth finishing. This tool is very easy to use. But by following some techniques you can use this tool more efficiently. So, in this article, I will provide the step by step guideline so that you can get the best result by using this excellent tool.

Read more: What is the Best Sander for Refinishing Furniture
Guideline for Using an Orbital Sander
Fix the Object:
At first you need to make sure that the object is locked on which you do the job. For proper and smooth finishing, you have to make the object stable. So, to reduce unnecessary movement or vibration, this stem is very important. You need a tabletop clamp or vice to secure your object.
Ventilation:
While using an orbital sander, a large amount of dust particles are produced. Controlling this dust is not an easy task. So, using ventilation can be a great way to get rid of this problem.
Choose Appropriate Sandpaper:
Different types of wood require different types of sandpaper. Use sandpaper according to the type of the object on which you will work.
Maintain the Sequence of SandPaper:
The sandpapers are used in a series. Each sandpaper will remove the scratch marks of previously used paper. So, you need to maintain the sequence. Gradually you have to progress towards the finer grit. You cannot jump on a super fine grit by breaking the sequence.
Start Sanding:
Start the orbital sander and gently place it on the object. Then smoothly move the sander over the object. Make sure that the movement and given pressure remain constant. Constant force and steady movement are the key to achieve the desired finishing.
Sand Edges Twice:
An orbital sander is mainly used for a perfect finishing. So, or more perfection, double sand the edges of your object. This can be a great trick if you want a smooth finished surface.
Read more: How to Choose the Best Sander for Trim Work
Don’t Give Any Extra Pressure:
The weight of your hand and the machine will be enough for sanding operation. No extra pressure will be needed to cut the surface properly. Once you start the switch of the sander, it will automatically start cutting. Rather extra downward force may result in slow-moving, damage to the motor or imperfection in surface finish.
Go Slow:
Do you want a swirl-free surface? then just go slowly. If you are in a hurry to complete your sanding operation, remember, more scratches will happen.
Change the Disc at The Proper Time:
The fact is that the orbital sander discs are changeable and they are less costly. They are available at any hardware shop and you can purchase them at a very low cost. So, don’t use it for a long time. They basically show you clearly when their time is over. The symptoms may like – stop cutting, slow cutting operation, have filled with dust and so on. If you notice any symptom, just change the disc. This little care will save valuable time.
Finishing:
When the sanding will complete, stop the sander. Then brush away the object to remove the dust particles from the surface. For more perfect finishing, repeat all these processes with another finer grit sandpaper.
Finish by Hand:
To ensure achieving the desired smooth finishing, always finish the task by hand. After completing every step using an orbital sander, wrap a block with finer sandpaper. You can also use a disc of the sander instead of a wooden block. Then start hand sanding and get an excellent final result.
Safety Issues:
While using an orbital sander, some precautions must be taken for your safety. Buy a sander of a reliable brand. Read instructions carefully that are given in the user manual. Check the socket and plug that you plan to use for your orbital sander. The socket should have RCD (Residual Current Device) Protection. It will save you from electric shock or sudden electrical fire. Use safety glass that protects your eyes and use a mask for dust particles. Switched off the orbital sander before attaching a sanding paper. The cord of the orbital should be large. Otherwise, the tool cannot reach the whole area you want to work.
Some Tips for Using Orbital Sander
- Do not alter the plate of an orbital sander much frequently.
- Do not apply much force on your orbital during working. It will hamper perfect finishing.
- Use a constant movement of your hand while working.
- Apply minimum force during sanding of the edge portion.
Conclusion
For achieving the perfect surface finishing of your project, an orbital sander is undoubtedly an effective device. With little attention, it can produce an outstanding result and also save your time and energy. Expectedly, the tips given here will show you the right direction to use an orbital sander.
Relevant Resources:
- The Best Edge Sander Reviews And Compared by Experts
- Options to Look for While Buying Small Belt Sander
- The Best Way to Sand Hardwood Floors
About This Writer

Hi, I am Eric Devin and I am a professional interior architect. Since childhood, I've always enjoyed DIY projects! And, I have loved to solve simple household problems using essential tools and equipment. I have also acquired a lot of information about basic household tools settings by working with contractors.