Quilting is a beloved art form that has been passed down for generations. Whether you’re a beginner or an experienced quilter, there is something special about creating a beautiful and functional quilt. But not all quilts are created equal.

Some may only last a few years before falling apart or losing their shape, while others can last a lifetime and become cherished family heirlooms. We believe that a well-made quilt is a work of art that should be treasured for years to come.
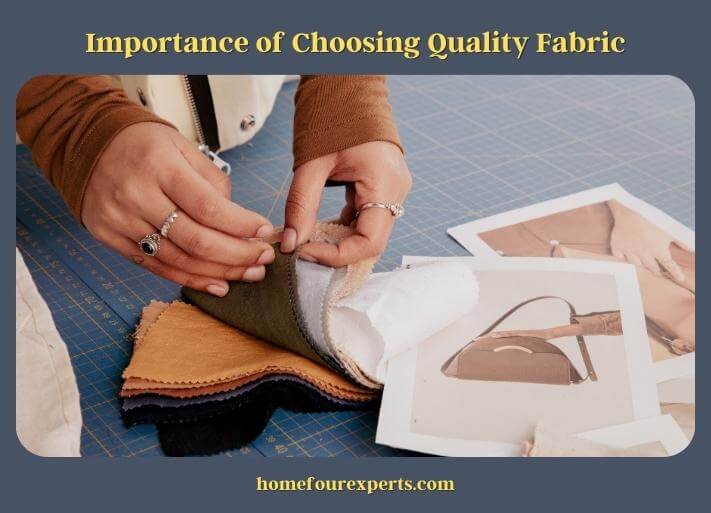
Importance of Choosing Quality Fabric
Choosing high-quality fabric is crucial to creating a quilt that will last a lifetime. Here’s why:
Durability
The durability of the fabric will determine how well the quilt will hold up over time. Higher-quality fabrics are made from longer, finer fibers that are tightly woven together. This makes them stronger and more resistant to wear and tear, which is important for a quilt that will be used and washed repeatedly.
Colorfastness
Cheaper fabrics are often treated with harsh chemicals that can cause the colors to fade or bleed in the wash. This is not only unsightly, but it can also weaken the fabric and cause it to break down more quickly. High-quality fabrics, on the other hand, are often treated with gentler dyes and finishes that will help the colors stay vibrant and true for years to come.

Comfort
When choosing fabric for a quilt, it’s important to consider not just how it will look, but also how it will feel. High-quality cotton fabrics are soft, breathable, and comfortable against the skin, making them a great choice for a cozy and snuggly quilt.
Investing in a high-quality fabric will pay off in the long run by creating a quilt that is both beautiful and durable, and that will provide warmth and comfort for years to come.
Provide Specific Recommendations for Fabrics, Batting, and Thread
When it comes to creating a quilt that will last a lifetime, the quality of the materials you use is crucial. Here are some specific recommendations for fabrics, batting, and thread:
Fabrics
Choose high-quality, 100% cotton fabrics for your quilt top. Look for fabrics with a high thread count and a tight weave, as these will be more durable and less likely to fray or pill over time. Avoid fabrics that are prone to stretching or shrinking, such as rayon or silk.
Batting
Look for batting made from natural fibers, such as cotton or wool. These materials are breathable and moisture-wicking, which will help regulate your body temperature while you sleep. Avoid synthetic batting materials, such as polyester, which can be prone to clumping or shifting over time.
Thread
Use high-quality, 100% cotton thread for both piecing and quilting your quilt. Look for a thread with a smooth finish and a strong, even twist. Avoid using cheap, low-quality thread, as it can break or fray easily and won’t hold up well over time.
Discuss the Importance of Pre-washing and Ironing the Fabric
Pre-washing and ironing the fabric before beginning to create your quilt is an essential step in ensuring that your quilt will last a lifetime.

Pre-washing your fabric removes any chemicals, dirt, or other debris that may be present on the fabric from the manufacturing process. This is especially important for fabrics that have been treated with sizing, which can cause the fabric to shrink or distort when it is washed later on. Pre-washing also allows the fabric to shrink before you begin working with it so that it will not distort the size of your finished quilt after washing.
Ironing your fabric after washing and before cutting is equally important. This helps to remove any wrinkles or creases in the fabric, ensuring that your cuts are accurate and your piecing is precise. It also helps to set the fabric’s weave, which can help prevent distortion during the quilting process.
Failing to pre-wash and iron your fabric can result in a finished quilt that does not hold up well over time. The fabric may shrink or distort after washing, causing the seams to pull apart or the quilt to lose its shape.
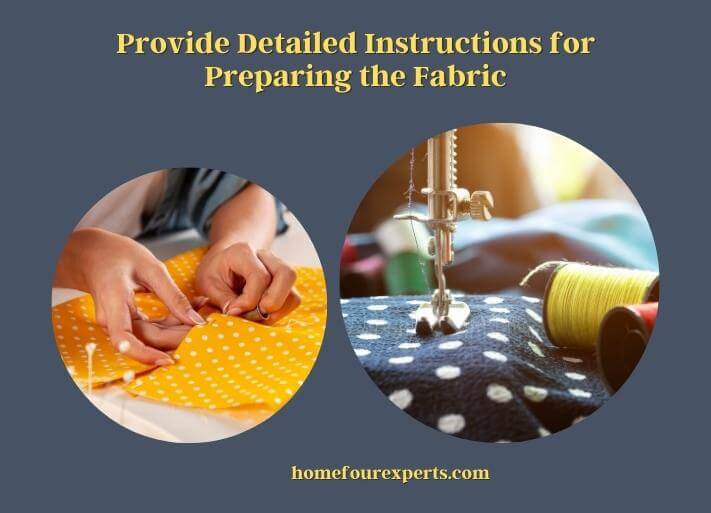
Provide Detailed Instructions for Preparing the Fabric
Preparing your fabric properly is an essential step in creating a quilt that will last a lifetime.
| Pre-washing | Before you begin working with your fabric, it’s important to pre-wash it. Fill your washing machine with warm water and add a gentle detergent. Place your fabric in the machine and run it through a gentle cycle. Once the cycle is complete, remove your fabric from the machine and tumble dry it on low heat or hang it to air dry. It’s important to wash your fabric before cutting it, as this will help prevent shrinkage and distortion later on. |
| Ironing | Once your fabric is dry, it’s time to iron it. Set your iron to the appropriate temperature for your fabric type (usually medium-high for cotton) and press out any wrinkles or creases. Be sure to press from the wrong side of the fabric, using a back-and-forth motion to avoid stretching or distorting the fabric. If your fabric has a print or design on it, be sure to iron it on the wrong side to prevent any fading or damage. |
| Cutting | Once your fabric is pre-washed and ironed, it’s time to cut it into the shapes and sizes you need for your quilt. Use a rotary cutter and cutting mat for precise cuts. It’s important to be accurate with your cutting, as any mistakes or inaccuracies can cause problems later on in the quilting process. |

Cutting and Piecing the Quilt Top
Cutting and piecing the quilt top is an important step in creating a beautiful and long-lasting quilt. Use a rotary cutter, cutting mat, and ruler to cut your pre-washed and ironed fabric into the desired shapes and sizes for your quilt top. Be sure to measure accurately and cut precisely to ensure that your pieces fit together properly. If your quilt design involves intricate piecing, consider using a design wall or layout board to help you visualize and plan your quilt top.
Once your fabric pieces are cut, it’s time to start piecing them together to create your quilt top. Use a 1/4-inch seam allowance and a sewing machine or hand sewing to stitch your pieces together. Be sure to press your seams flat as you go, using a pressing tool or your fingers to avoid creating any puckers or distortion in the fabric. If your quilt design involves matching seams or points, use pins or a stiletto to help you achieve precise alignment.
As you piece your quilt top, periodically check for accuracy and make any necessary adjustments. Use a square ruler or other measuring tool to ensure that your quilt top is square and that your corners are at right angles. Trim any excess fabric or uneven edges as needed.
If you want to build a table with confidence, follow these instructions for details.
Provide Detailed Instructions for Adding the Batting and Backing
Adding the batting and backing is an essential step in the quilting process. Measure your quilt top and cut your batting and backing to the same size. Make sure to leave a little extra on all sides to allow for any shifting or adjustments during the quilting process.
Lay out your backing fabric right side down on a flat surface. Smooth out any wrinkles or creases and make sure the fabric is taut.
Lay the batting on top of the backing fabric. Smooth it out with your hands and make sure it is flat and even.
Place your quilt top on top of the batting, right side up. Make sure it is centered and straight.
Starting at the center of the quilt, use safety pins to pin all three layers together. Work your way out to the edges, spacing the pins about 4-6 inches apart.
Using a long basting stitch, sew around the edges of the quilt, about 1/4 inch from the edge. This will help keep the layers together and prevent shifting during the quilting process.
Trim the excess batting and backing fabric from the edges of the quilt, making sure to leave a little extra for the binding.
Quilting the Layers Together
Once you have added the batting and backing to your quilt, the next step is to quilt the layers together. Here are some detailed instructions on how to do that:
Choose Your Quilting Method
There are several ways to quilt your layers together, including hand quilting, machine quilting, or tying. Choose the method that works best for you and your quilt.
Mark Your Quilting Lines
If you are machine quilting, use a water-soluble or air-soluble fabric marker to mark your quilting lines on the quilt top. You can also use a quilting stencil or ruler to create a more intricate design.
Begin Quilting
Start quilting in the center of your quilt and work your way out to the edges. If you are machine quilting, use a walking foot or free-motion foot to help guide the quilt through the machine. Take your time and quilt slowly and steadily to ensure even stitches.
Tie Your Quilt
If you are tying your quilt, use a large-eyed needle and embroidery floss or yarn to tie knots through all three layers at regular intervals. Make sure the knots are tight and secure.
Finish the Quilt
Once you have quilted all the way to the edges, trim any excess batting and backing fabric. Add binding to the edges of the quilt to give it a finished look.
With a little patience and practice, you can create a beautiful and long-lasting quilt that will be treasured for years to come.
Binding the Quilt
Binding a quilt is the final step in completing the project. Cut your binding strips from your chosen fabric. The strips should be about 2.5 inches wide and long enough to cover the perimeter of your quilt, plus a few extra inches for mitering the corners and joining the ends.
Sew the binding strips together at a 45-degree angle to create one long strip. Trim the excess fabric and press the seams open.
Starting in the middle of one side of the quilt, aligning the raw edge of the binding with the raw edge of the quilt top. Use a ¼ inch seam allowance to sew the binding to the quilt top, mitering the corners as you go.
Once the binding is sewn to the quilt top, fold it over to the back of the quilt and hand-stitch it in place using a blind stitch. Make sure your stitches are even and invisible on the front of the quilt.
Your quilt is now complete and ready to be enjoyed! Take pride in your finished project and cherish it for years to come.
Remember to choose your binding fabric carefully, sew your strips together at a 45-degree angle, and take your time to ensure even stitching and mitered corners. With practice, you can become an expert at binding quilts and create beautiful finished projects.
About This Writer

Hi, I am Eric Devin and I am a professional interior architect. Since childhood, I've always enjoyed DIY projects! And, I have loved to solve simple household problems using essential tools and equipment. I have also acquired a lot of information about basic household tools settings by working with contractors.