Woodworking is a versatile and creative craft that has been around for centuries. It involves the use of tools and materials to create functional and decorative objects from wood. Building a table from scratch is an exciting project that can be both rewarding and challenging, especially for beginners. With the right tools, materials, and techniques, anyone can learn to build a table with confidence.

Whether you are looking to furnish your home with custom-made furniture or simply want to explore the art of woodworking, building a table is a great place to start. Not only is it a practical piece of furniture, but it can also serve as a centerpiece in your home. From classic to contemporary designs, there are endless possibilities when it comes to building a table.
For those who are new to woodworking, the thought of building a table from scratch may seem daunting. That’s why this comprehensive guide will provide you with all the information you need to build a table with confidence. From the tools and materials you’ll need to the techniques for measuring and cutting your wood, this guide will help you become a pro in no time.
Why Build Your Own Table?
Building your own table can be a rewarding and fulfilling experience for several reasons. Building your own table allows you to customize it to your specific needs and preferences. You can choose the size, shape, and style of your table, as well as the type of wood and finish you prefer. This means you can create a table that perfectly suits your home decor and functional needs.
Building your own table can be a cost-effective alternative to purchasing one from a store. While the initial investment in tools and materials may seem daunting, in the long run, building your own table can save you money. Additionally, you can use high-quality materials that may not be found in commercially produced furniture.
There’s something incredibly satisfying about completing a project from start to finish. Building your own table can provide a sense of accomplishment and pride in your woodworking skills.
Building a table with friends or family can be a fun and bonding experience. You can work together to create a piece of furniture that you can enjoy for years to come.
Building your own table is a great way to express your creativity, save money, and create a sense of accomplishment. With the right tools and techniques, anyone can learn to build a table with confidence.
Tools and Materials You’ll Need
Before you can start building your table, you’ll need to gather the necessary tools and materials. Here’s a list of what you’ll need:
Tools
- Circular saw or table saw
- Jigsaw
- Drill
- Impact driver
- Random orbital sander
- Clamps
- Measuring tape
- Combination square
- Chisels
- Hand saw
- Wood glue
- Hammer
- Nails and screws
- Wood filler
- Paintbrushes
- Safety goggles
- Ear protection
- Dust mask
Materials
- Wood (choose a species that suits your needs and budget)
- Sandpaper (80-grit and 120-grit)
- Stain or paint (if desired)
- Polyurethane or other protective finish
The exact tools and materials you need may vary depending on the specific design of your table. It’s also important to choose high-quality materials to ensure the longevity and durability of your table.
Understanding Woodworking Joints
Woodworking joints are the foundation of any woodworking project, including building a table. A joint is created when two or more pieces of wood are connected together. There are several types of woodworking joints, each with its own unique strengths and weaknesses.
A butt joint is the simplest and most basic joint, where two pieces of wood are joined at their ends. This joint is not very strong on its own and is usually reinforced with nails or screws.
A dado joint is created by cutting a groove into one piece of wood that matches the thickness of the second piece of wood. This joint is commonly used in shelving and cabinetry.
A mortise and tenon joint is a strong joint that is commonly used in furniture making. A mortise is a hole that is cut into one piece of wood, while a tenon is a protrusion that fits into the mortise.
A dowel joint is created by drilling a hole into two pieces of wood and inserting a dowel rod that connects them. This joint is commonly used in furniture making and is stronger than a butt joint.
A biscuit joint is created by cutting a slot into two pieces of wood and inserting a small, football-shaped wooden biscuit into the slot. This joint is commonly used in cabinet making and is relatively easy to create.
Understanding woodworking joints is essential for building a strong and durable table. Each joint has its own unique strengths and weaknesses, so it’s important to choose the right joint for your project. When selecting a joint, consider the type of wood you are using, the overall design of your table, and the level of strength and durability required for your project.
Measuring and Cutting Your Wood
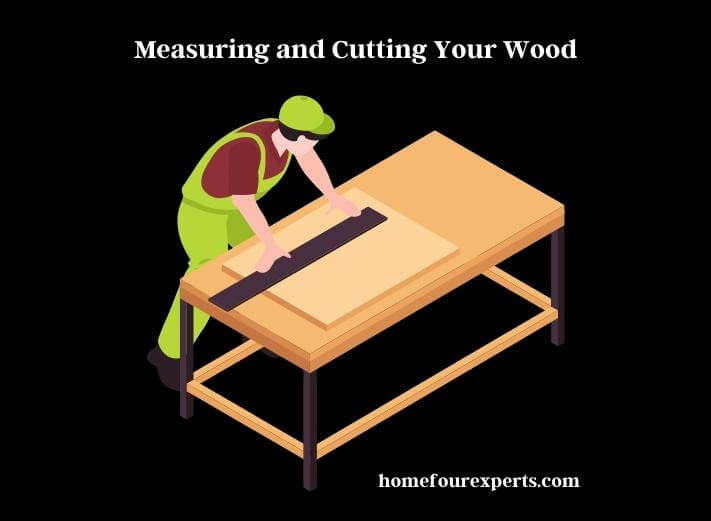
Accurate measurements and precise cuts are essential for building a table that is sturdy and functional. Here are some tips for measuring and cutting your wood:

Measure twice, cut once: This is a basic rule of woodworking. Make sure you measure your wood accurately before making any cuts. Double-check your measurements to avoid mistakes that can be costly and time-consuming to fix.
Use a square: A combination square is a useful tool for ensuring accurate angles and measurements. Place the square against the edge of your wood and use it as a guide for your saw or other cutting tool.
Use a straight edge: A straight edge can help ensure that your cuts are straight and even. You can use a ruler or a piece of scrap wood as a guide for your saw or other cutting tool.
Use the right blade: Different types of saw blades are designed for different types of cuts. Make sure you choose the right blade for the type of cut you need to make.
Clamp your wood: Clamping your wood securely can help prevent it from moving during the cutting process, resulting in more accurate cuts.
Start with rough cuts: Make rough cuts first to remove any excess material. This can make it easier to make more precise cuts later on.
Sand after cutting: Sanding your wood after cutting can help smooth out any rough edges and ensure a snug fit when joining pieces together.
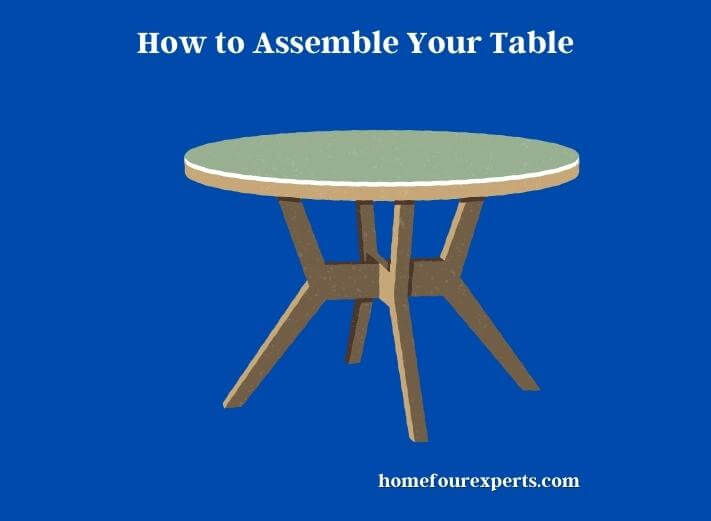
How to Assemble Your Table?
Once you have cut all the pieces for your table, it’s time to start assembling them. Here are some tips for putting your table together:

- Before you start assembling your table, lay out all the pieces and make sure you have everything you need. This will help you avoid any surprises or missing pieces as you assemble your table.
- If you haven’t already done so, sand and finish all your pieces before you start assembling your table. This will make it easier to access all the areas of your table and ensure a smooth, even finish.
- If you are using a table plan or instructions, follow them carefully. Make sure you understand the steps involved and take your time to complete each one correctly.
- Clamps can help hold your pieces together while you are assembling your table. This can make it easier to ensure that your table is level and that all the joints are properly aligned.
- Use a square to check that your table is square at each stage of assembly. This will help you avoid any problems with the final product.
- Once your table is assembled, attach the legs. Make sure they are level and securely attached to the table. If you are using screws or bolts, make sure they are tightened properly.
- Sand and finish your table one last time to ensure a smooth, even finish. You can also add any final touches, such as trim or decorative elements.
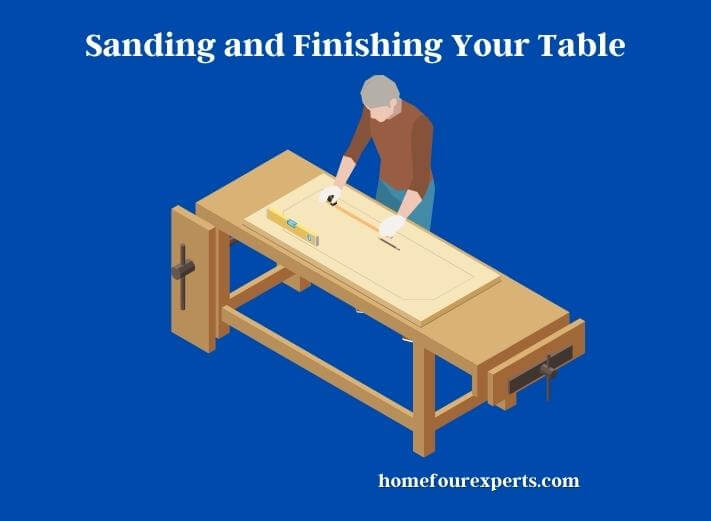
Sanding and Finishing Your Table
Once your table is assembled, it’s time to sand and finish it. Sanding will help smooth out any rough edges or surfaces and prepare the table for finishing. Here are some tips for sanding and finishing your table:

- Start by using coarse-grit sandpaper, such as 80 or 100 grit, to remove any rough surfaces or imperfections in the wood. Sand with the grain of the wood and make sure to sand all surfaces evenly.
- After sanding with the coarse grit sandpaper, progress to a finer grit, such as 120 or 150 grit. This will help remove any scratches left by the coarse grit sandpaper and create a smoother surface.
- Make sure to sand all surfaces of your table, including the top, sides, and legs. Pay special attention to areas where pieces of wood are joined together to ensure a smooth, even finish.
- Once you have sanded your table to your desired level of smoothness, it’s time to apply a finish. There are many different types of finishes you can use, such as stain, paint, or varnish. Choose a finish that complements the look you want for your table.
- Use a brush or rag to apply the finish evenly to all surfaces of your table. Make sure to follow the manufacturer’s instructions for the finish you are using.
- Allow the finish to dry completely before handling or using your table. This can take several hours to a few days, depending on the type of finish you used.
- Depending on the type of finish you used, you may need to apply a second coat for a more durable finish. Make sure to let the first coat dry completely before applying the second coat.
Troubleshooting and Problem-Solving
Even the most experienced woodworker can run into problems when building a table. If your table legs are uneven, it can cause the table to wobble or be unstable. To fix this, try adjusting the height of the legs by sanding them down or adding shims underneath them. You can also use a level to ensure the table is level.
If you have gaps in the joints of your table, it can weaken the overall structure. To fix this, try using wood filler to fill in the gaps and sanding it down once it’s dry. You can also try adding more glue and clamping the joint until it dries.
If your wood is warped, it can make it difficult to assemble your table properly. To fix this, try using a planer or sander to remove some of the warped areas. You can also try clamping the wood to a flat surface to help it straighten out.
If your wood is chipped or damaged, it can affect the appearance and stability of your table. To fix this, try using wood filler to fill in the damaged area and sanding it down once it’s dry. You can also try cutting off the damaged area and replacing it with a new piece of wood.
If your joints are not aligned properly, it can weaken the overall structure of your table. To fix this, try disassembling the joint and reassembling it with the correct alignment. You can also try using clamps to hold the joint in place while the glue dries.
Problem-solving is a key part of woodworking and building a table. Don’t be afraid to experiment and try new solutions to solve any issues you may encounter. With some patience and creativity, you can overcome any problem and create a beautiful and functional piece of furniture.
Tips for Success
Here are some tips to help you succeed in building a table with confidence:
Plan ahead: Before you start building, make sure you have a clear plan and design for your table. This will help you determine the materials and tools you will need and avoid any unexpected problems.
Measure twice, cut once: Take your time when measuring and double-check your measurements before cutting your wood. This will help ensure accuracy and avoid any costly mistakes.
Use quality materials: Using high-quality materials will not only improve the appearance of your table but also ensure its durability and longevity.
Practice safety: Woodworking can be dangerous, so make sure to wear protective gear such as safety glasses and gloves. Also, make sure to use tools correctly and follow safety guidelines at all times.
Take breaks: Woodworking can be physically and mentally demanding, so make sure to take breaks to rest and recharge. This will help you stay focused and avoid mistakes.
Ask for help: If you’re new to woodworking, don’t be afraid to ask for help or advice from more experienced woodworkers. They can offer valuable tips and insights that can help you improve your skills and avoid mistakes.
Remember to take your time, be patient, and enjoy the satisfaction of creating a beautiful piece of furniture with your own hands.
In a Nutshell
Building a table can be a fun and rewarding experience for woodworking novices and pros alike. With the right tools, materials, and knowledge of woodworking joints, measuring, cutting, and assembling, you can create a beautiful and functional piece of furniture that fits your needs and style. Remember to take your time, follow instructions carefully, and don’t be afraid to ask for help if you need it.
Whether you’re building a dining table, coffee table, or desk, the process of building a table can be a great way to learn new skills and unleash your creativity. And once you’ve built your table, the satisfaction of knowing that you created it with your own hands is truly priceless.
So if you’re ready to take on the challenge of building a table, remember to approach it with confidence and a willingness to learn. With some practice and patience, you can become a pro at woodworking and create beautiful pieces of furniture that will be cherished for years to come.
About This Writer

Hi, I am Eric Devin and I am a professional interior architect. Since childhood, I've always enjoyed DIY projects! And, I have loved to solve simple household problems using essential tools and equipment. I have also acquired a lot of information about basic household tools settings by working with contractors.